

How to Install TestLink 1.9.14 on Ubuntu 14.04 LTS

kailashgajara
Find the purpose, means will follow!
Testink is an open source test case management tool. It is widely used and has in detail functionality of test projects, plans, operations, test cases and execution. Along with all of these, you also get to see reports, status of exection. It has role based login so you can create team leader, tester, manager roles and track different projects and test cases very easily. To find out more about testlink, refer this link.
This post is about how to Install latest TestLink 1.9.14 on Ubuntu 14.04 LTS.
It is not at all difficult to install but just like how its easier to follow a "Step-by-Step" guide when you have other things to do and you don't want waste time and also don't want to configure things incorrectly, its better to follow such guide. There are number of articles available about this but I thought to put together in much simpler steps below:
- Install updates (if any)
apt-get install update
apt-get install upgrade
- Install Apache, PHP, MySQL, Phpmyadmin. Follow this link for easy and complete installation.
- Install Java. Please use Oracle JDK. Follow "Installing Oracle JDK" on this link.
- On terminal, enter following command to download latest TestLink project.
wget http://liquidtelecom.dl.sourceforge.net/project/testlink/TestLink%201.9/TestLink%201.9.14/testlink-1.9.14.tar.gz
- Unpack the archive
tar zxvf testlink-1.9.14.tar.gz
- Its better to change the folder name to something else of your choice. For example: I would change it to "quality"
mv testlink-1.9.14/ quality
- Move quality/ folder to your apache web root folder
sudo mv quality/ /var/www/html/
- Configure Apache, add following code to 000-default.conf file
<VirtualHost *:80>


<Directory /var/www/html/>
  Options +FollowSymLinks
  RewriteEngine On
  RewriteRule ^$ /quality [L]
  AllowOverride None
</Directory>


</VirtualHost>
- Edit the php.ini file located in /etc/php5/apache2/php.in and set the following parameters:
max_execution_time = 120
session.gc_maxlifetime = 2700
- Enable Re-Write and restart Apache
sudo a2enmod rewrite
sudo /etc/init.d/apache2 restart
- Create a following folders
mkdir /var/testlink
mkdir /var/testlink/logs/
mkdir /var/testlink/upload_area
- Give writable permission to these folders
sudo chmod 777 /var/testlink/logs
sudo chmod 777 /var/testlink/upload_area

sudo chmod 777 /var/www/html/quality/gui/templates_c
- Now open browser and access that home page. For example http://YOUR_SERVER_IP_ADDRESS/quality
- Now follow all easy onscreen instructions as below, step by step. Please note, at the end you might get one simple error, which can be fixed easily.
- Click on New Installation link
- Accept the license.
- Verify all the configuration. Make sure you don't have FATAL errors. Otherwise its fine.
- Select DB Type, Enter Host Name and Enter DB Name. This installation script asks for DB root user credentials, so it will create db for you.
- Enter database root user credentials and testlink db user credentials you want to set.
- Error at the end
- Copy the code and paste it in some notepad file. We will use it in next step.
- Click on New Installation link
- Create new file config_db.inc.php in /var/www/html/quality folder with content which was shown in your browser. Sample is below:


<?php
// Automatically Generated by TestLink Installer - Thu, 01 Oct 15 16:29:41 +0530
define('DB_TYPE', 'mysql');
define('DB_USER', 'XXXXXX');
define('DB_PASS', 'XXXXXX');
define('DB_HOST', 'localhost');
define('DB_NAME', 'testlink');
define('DB_TABLE_PREFIX', '');
?>
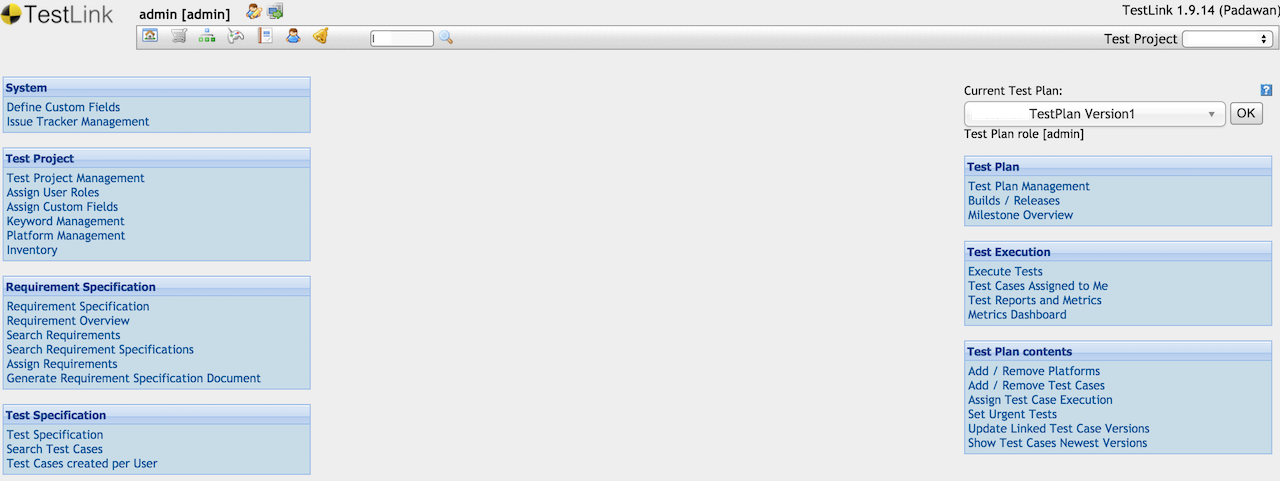
- After everything is done, you can now visit the same url IP_ADDRESS/quality and you should see TestLink login Page.
- Log in with the default username: admin and password: admin
- You should change the password by going to Admin section
- One last thing: You need to edit config.inc.php file to add your email configuration, so that email start working properly. Following parameters are to be set:
- g_tl_admin_email = 'xxxx';
- g_from_email = 'xxxx';
- g_return_path_email = 'no-rpely@127.0.0.1';
- g_smtp_host = 'xxxx';
- Finally, move or remove /quality/install folder.
Installation manual link : http://SERVER_IP_ADDRESS/quality/docs/testlink_installation_manual.pdf
TestLink official source code repo: http://sourceforge.net/projects/testlink/
Thanks!
Any suggestions to this, feel free to comment below.

Comments (1)
new hello 2
Leave a comment